1st grade, Kindergarten, PreK, Reading Instruction

Learning to Read: A “How To” Progression from Letters to CVC Words (Part 2)

In part 1 of this series, I stated a pretty obvious fact…That children must be able to recognize individual letters as the first part of learning to read. However, you also learned that while teaching children letter names, you can (and should) introduce them to the sound each letter makes.

Here, in part 2, I’ll discuss progressing forward to CVC words.

What are CVC words?

It’s important to emphasize the significance of CVC words in early reading education. These three-letter words, comprised of a consonant, a vowel, and another consonant, are pivotal in introducing blending sounds and decoding words to young learners. Mastery of CVC words is essential for the development of phonemic awareness, a fundamental skill for achieving reading success.

Remember, as you taught children to recognize letters, you also taught them to recognize the sound each letter makes. Once they know the letters and sounds, progressing to CVC words is the next step!

To practice blending CVC words effectively, it’s essential to model the process by pointing to each letter and articulating its sound. For example, for the word “cat”. First, say the word. Then, simply start with “c” and make the sound. Next, add the “a” sound followed by the “t” sound. Point to each letter in the word as you make the sound. Once you make each sound separately, say them (blending together) as you once again say the word.

One effective technique that some love to use when teaching CVC words…Placing dots underneath each letter to provide a tactile reference for students. Begin by repeating the process 2-3 times, gradually increasing the pace and seamlessly blending the sounds together until the word is formed.

Following this, encourage students to participate alongside you and eventually attempt the exercise independently. As a beneficial warm-up, start with oral blending before progressing to using actual words on a blending line. With consistent modeling and ample practice, students will develop the ability to independently blend CVC words.

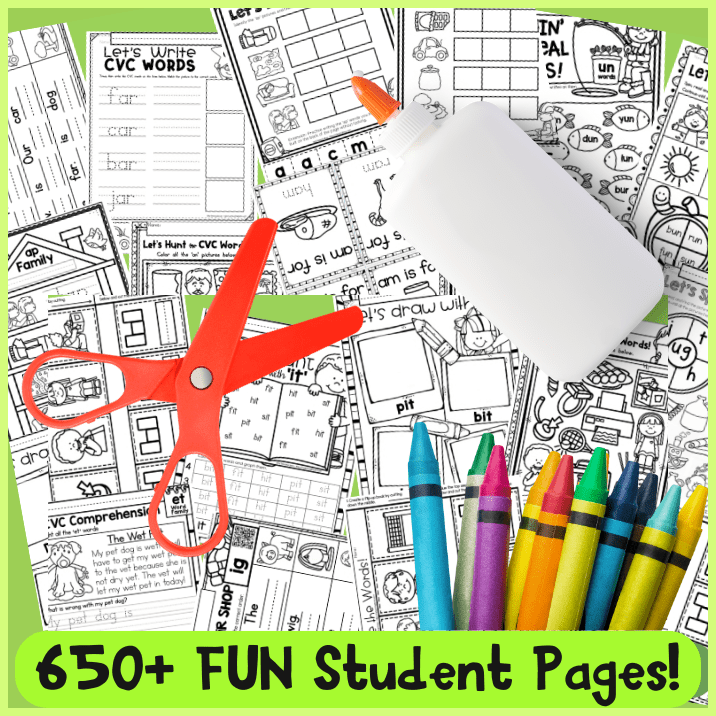
My Teaching Library has a comprehensive bundle designed just for students who are ready to begin learning and practicing CVC words…

LEARN TO READ | CVC BUNDLE

This fun, engaging BUNDLE includes all three CVC workbooks, (short a | short e and i | short o and u), plus a BONUS end of study assessment!

Watch preview videos of each workbook that is included:
– Short A
– Short E and I
– Short O and U

Using this CVC BUNDLE, students will color, trace, write, cut, and glue as they learn and read CVC words!

How to Progress from Letters to CVC Words

Moving from learning individual letters to blending CVC (consonant-vowel-consonant) words is a pivotal milestone in a child’s reading journey. It signifies their transition from recognizing basic phonemes to forming and pronouncing simple words. This phase can be enriched by integrating various engaging activities, interactive games, and providing access to straightforward reading materials. Through a harmonious blend of these approaches, educators and parents can effectively steer young learners towards achieving reading success. Furthermore, cultivating patience, offering consistent encouragement, and fostering a sense of joy in the learning process will lay a sturdy foundation for their future literacy endeavors!


Want to view the TOP SUGGESTED RESOURCES for PreK and Kindergarten students? Click the button below…


My Teaching Library has thousands of digital downloads ready to use!
Curriculum, Units, Worksheets, Posters, Activities…and more.

On My Teaching Library, YOU CHOOSE!

Purchase resources individually or…

Kindergarten, PreK, Reading Instruction

Learning to Read: A “How To” Progression from Letters to CVC Words (Part 1)

Reading is a crucial skill that begins by mastering the alphabet. However, as students progress, they encounter another milestone in their journey – the transition from recognizing individual letters to seamlessly blending consonant-vowel-consonant (CVC) words. This is an essential step that helps them decode and read more complex words. In this series, I will share a step-by-step guide on how you can help your students make this transition effectively.

In this blog post, part 1, I’m addressing the skill of mastering letter recognition.

Learning to Recognize Letters

Students must be able to recognize individual letters before introducing them to mixing CVC words and thus beginning to read.

  • Students should be able to recognize both capital and lowercase letters in order to be proficient in letter recognition.
  • Identify the various print fonts (consider the numerous ways to write an or g).
  • Have rapid and accurate sight letter recognition.

Some practice ideas if a student isn’t recognizing at least half of the alphabet’s letters…Reinforce letter recognition with fun activities including worksheets, flashcards, and alphabet games.

Need resources to help teach letter recognition? My Teaching Library has a great variety…

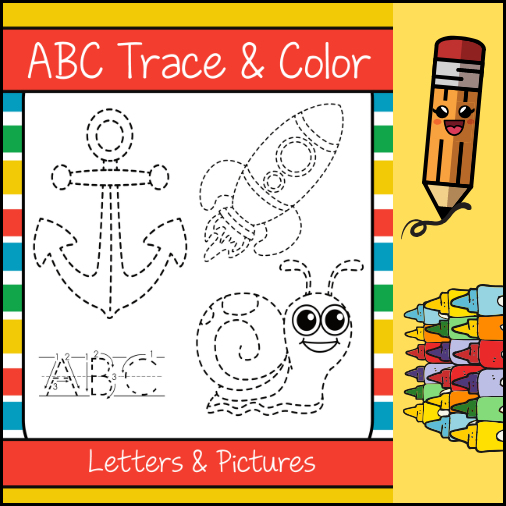
Go to: ABCS TRACE AND COLOR 
Free to All-Access Members
Non-Members will find listed price on product page

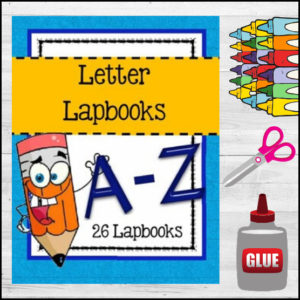
Go to: LETTER LAPBOOKS | A-Z
Free to All-Access Members
Non-Members will find listed price on product page

Go to: LETTER LEARNING A-Z CAPITAL LETTERS | INTERACTIVE COLOR, CUT AND PASTE
Free to All-Access Members
Non-Members will find listed price on product page

Go to: MORNING WORK FOR KINDERGARTEN | 1ST SEMESTER
Free to All-Access Members
Non-Members will find listed price on product page

Go to: MORNING WORK FOR KINDERGARTEN | 2ND SEMESTER
Free to All-Access Members
Non-Members will find listed price on product page

It’s crucial to understand that letter recognition is just one component of the process of enabling students to blend. Acknowledging the need for students to recognize a minimum of 50% of the alphabet’s letters before progressing is essential. This criterion is vital because students could potentially advance to blending at a faster pace than anticipated. Once students grasp letters and their respective sounds (for example, m, a, p, s, t), they are ready to begin blending!

As you practice letter recognition, it’s important to introduce the sounds associated with each letter. As students learn each letter, say when they are completing a lapbook for each letter or working on a letter page, you can you can say, “The letter b makes the /b/ sound heard at the beginning of ball or big.”

Encourage the students to repeat after you or complete the sentence, such as, “this is the letter __ ‘b!It makes the __ ‘/b/’ sound”. This brief daily exercise will help your students learn both the letter names and sounds simultaneously!

It is also always helpful to use multisensory approaches, such as associating sounds with gestures or using tactile materials, to enhance understanding!

Continue reading…PART 2!


Want to view the TOP SUGGESTED RESOURCES for PreK and Kindergarten students? Click the button below…


My Teaching Library has thousands of digital downloads ready to use!
Curriculum, Units, Worksheets, Posters, Activities…and more.

On My Teaching Library, YOU CHOOSE!

Purchase resources individually or…
Pay ONE PRICE and get ALL the PRINTABLES you need in ONE PLACE with ALL-ACCESS

Holidays

Easter Recipe: Smores

Ingredients:

  • Bunny or Chick Peeps
  • Chocolate Bunnies
  • Graham Crackers

 Just preheat the toaster oven or real oven, lay out a graham cracker. Break up your chocolate bunnies and place a few of the pieces on top of the graham cracker. Top with a peep and pop it in the oven.

Bake/broil for a few minutes until the tops are a little browned, then smoosh it with another cracker and EAT!

Simple, delicious, and the kids love them!

Looking for some SPRING RESOURCES? Check out these:


SPRING PUZZLES

PICTURE DICTIONARY

SHAPE BOOKS

HAIKU POETRY UNIT

MATH SKILLS REVIEW

VOCABULARY WORD WALL

MULTIPLICATION  WORK

KITE SHAPE BOOK

CROSSWORD PUZZLE

WRITING PAPER

PICTURE VOCABULARY

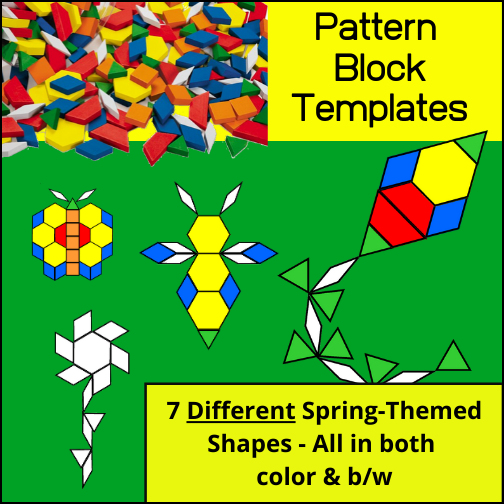
PATTERN BLOCK TEMPLATES

All-Access members do not pay for this or any resource. Become an All-Access member today!
________________________

BE the FIRST to know about NEW Products by joining the…
My Teaching Library FB group
Posts are made in this group first!!

Subscribe to My Teaching Library newsletters!

Earth Day

Great Earth Day Resources

Teaching Students to Care for the Earth

Every year, we celebrate Earth day during the month of April. To help teach students about why and how to care for our planet, here are some great resources from My Teaching Library…

A Study of the Earth – Natural Resources – This is a FREE resource shared from the Minerals Education Coalition.

Earth Day Activities for 2nd – 4th Grades – This Earth Day product includes a large number of activities for 2nd, 3rd and 4th grades for Language Arts and Science! It includes:
– A COMPLETE Lapbooking unit
– A VARIETY of Language arts activities including vocabulary work (Earth, recycle, reuse, reduce, conserve, resources, water, land, air, awareness, environment, clean, responsible, renewable, energy, natural) ; Mini-Books to create ; Reading comprehension ; Earth Day similes ; Poetry creation and more!
– Science Activities such as materials categorizing and sorting
– Answer Keys

Earth Day Activities for 5th-8th Grades – Two activities that students can do to get them thinking about Earth Day and recycling

Earth Day Word Search Puzzles – Why word puzzles? Studies have shown that word search and other word puzzles can help improve memory, focus, vocabulary, word recognition, pattern recognition, and overall mental acuity!

Earth Day Mazes | Puzzles for the Mind – Why mazes? A maze might just look like a fun way to pass time, but they’re actually a valuable learning tool for children. Here’s why:
-For children, completing mazes is a great way to boost their problem solving skills.
-Solving mazes also boosts their patience and persistence and teaches them about the rewards of work.
-Mazes can also help improve a child’s cognitive thought processes.
-Solving mazes are wonderful for improving hand-eye coordination.
-Concentrating on a maze also helps with memory too

Recycling Survey | Math Activity – A fun Math graphing activity that encompasses recycling! Use it as an activity when you want students to practice using tally marks and graphing or use it as an Earth Day activity.


Never pay for individual resources ever again…
Become an ALL-ACCESS member today!

________________________

BE the FIRST to know about NEW Products by joining the…

My Teaching Library FB group
Posts are made in this group first!!

Subscribe to My Teaching Library newsletters!

My Teaching Library….Read the reviews
Homeschool

Top Homeschooling Questions Answered (Part 3)

This article is part 3 of a 3 part series: Top Homeschooling Questions Answered.

The top hoemschooling questions are:

  1. When and how I should begin (Read Part 1)
  2. What do I need to teach (Read Part 2)
  3. What are the best programs to use (answered in this article)

There are three different types of programs to choose from when homeschooling. They are:

  • Using prepared, boxed curriculum created for the masses
  • Using online, learning platforms
  • Using skill-based and/or unit/theme based printable, teaching materials

What the best program is for you all depends on what works best for you and your child. However, there are some huge considerations to think about.

I’ll now cover the pros and cons of each:

Using Prepared, boxed curriculum created for the masses:

To ‘standardize’ education, our school systems have long adopted boxed curriculum. These programs all are based on grade-level skills and concepts, but they also change as states adopt ever changing standards and methods of teaching.

Pros of prepared, boxed curriculum:
  • Day to Day lessons are all created and given for the entire year. (This doesn’t mean there is no prep.)
  • Parents purchase having a sense of relief to have an ‘open and go’ curriculum (especially when they don’t trust themselves fully yet in being able to provide what is needed.)
Cons of prepared, boxed curriculum:
  • Lessons are not designed to meet your child where they are. Nor do they take into account their learning styles and preferences (and how those preferences can change).
  • There is no room (time) given for teachable moments or extended learning when a student shows an interest to dive deeper into a specific topic or interest.
  • Almost always requires extensive prep, even though they are advertised as open and go. Typically, the older the child, the more teacher prep will be required.
  • They can be very expensive. Prepared, boxed curriculum can be extremely expensive and all too often parents end up throwing out a good portion of it.
  • Parents will need to keep records.
  • Students often get bored and frustrated easily
  • Parents feel defeated when their children aren’t performing as they think they should based on what is given.

I first began using prepared, boxed curriculum in public schools. It was what I was given and expected to use. Even though these ‘open and go’ programs were created to be step by step, they still required me to do a lot of prep work. Plus, I always needed to find supplements to fill in the gaps to help students not quite ready for the material or for those that already knew the material.

Using online platforms:

Online platforms have been around and growing in popularity for years but really took off during the corona virus pandemic. They too are based on grade-level skills and concepts just like prepared, boxed curriculum, but are typically designed to move students along as they demonstrate that a specific skills or concept has been learned.

Pros of online platform curriculum:
  • Typically, easy to use for both parents and students.
  • Most will have some type of record keeping (but not all).
  • There is little to no lesson planning required for parents.
Cons of online platform curriculum:
  • Time required to be online with little to no ‘live’ human interaction.
  • If there is ‘live’ human interaction, it is on the teacher’s timeline and not yours. One huge advantage of homeschooling is having real flexibility! You lose this if you must meet someone else’s schedule.
  • Parents may still need to keep records depending on the program.
  • Often, too many of these online programs simply have a quick video or lesson to read and then a few questions to answer. Because of the format, these questions are typically all multiple-choice questions. There is no ability to have students learn to express and write out their thoughts or to be creative.
  • Parents have very limited interaction with the child or the work .

Using skill-based and unit/theme based printable, teaching materials:

For transparency purposes, my company, My Teaching Library, fits into this category.

Pros of using skill-based and unit/theme based printable teaching materials.
  • Materials are selected to meet each unique learner where he or she is.
  • Day to day lessons are assigned as the parent decides. If more time is needed or a bunny trail or teachable moment happens, it isn’t an issue! Exciting things can happen as deeper learning and interests are explored.
  • Creative expression is valued and practiced often
  • Encourages parent-child interaction and is typically more relaxed and enjoyable.
  • Allows for extreme flexibility in lesson planning and daily schedules.
  • Can be the least expensive way to homeschool (if you are an All-Access member of My Teaching Library)
Cons of using skill-based and unit/theme based printable teaching materials.

After 30+ years of experience and year of interacting with thousands of homeschooling families, I truly believe this is the best way to homeschool, so I can only say that the cons are what parents believe.

Here is a list the most common reasons homeschooling parents give for not trying to ‘do it themselves’ through the use of printable teaching materials that are not already laid out in a step by step format…

  1. Parents believe they don’t have the knowledge to teach without a prepared, boxed or online program.
    In most cases, this simply is not true! In fact, the most important thing to know is ‘what to teach.’ I cover that in Part 2 of this series. Once you know what should be taught, then you simply find, download, print and use the materials you need to teach a skill or concept. If a child needs extra practice, you give it to them through additional printables. If they ‘get it’ without doing an entire workbook or unit of printables on the same skill, you simply move on!
  2. Parents believe they don’t have time to lesson plan.
    I can tell you that, unless you use a fully online platform (and that platform only) you will need to lesson plan regardless of what type of program you choose. In my opinion, the cons of using online platforms far out way the cons of doing a little lesson planning. Once you get a little experience behind you (a month or so), most parents are only spending 15-30 minutes a week creating a lesson plan for the next week. You can find everything you need to create your own lesson plans in My Teaching Library’s Mega-Organizer.
  3. Parents worry about record keeping.
    You’ll most likely need to keep some type of records regardless of what type of program you use. The records you are required to keep all depends on the homeschooling law in your state. (See Part 1 of this series for how to find out what those are.) Also, you can find everything you need in My Teaching Library’s Mega-Organizer.
  4.  Parents worry it is too expensive to print what is needed.
    After years of printing myself, I recommend getting an Epson ecotank! The initial expense will quickly be recovered in the money you save from not having to purchase other types of programs, plus ecotanks are very cost effective when it comes to ink!
I do hope that you will be inspired to take homeschooling
by the reigns and go full steam ahead after reading this series!

I also hope you’ll be inspired to at least try to teach without feeling the need to use a prepared, boxed curriculum or an online program. However, if you do decide to decide try one or both, that’s okay…but just be aware that they may not be everything you thought they’d be.

Always remember…

  • Keep your homeschooling journey joyful, fun, and relaxed!
  • You are your child’s first and best teacher.
  • No one knows your child better than you.
  • No one has the right to shape and mold your child more than you do.

If you have questions about homeschooling
or My Teaching Library, please feel free to ask.
Click here to leave a message!


Never pay for individual resources ever again…
Become an ALL-ACCESS member today!

________________________

BE the FIRST to know about NEW Products by joining the…

My Teaching Library FB group
Posts are made in this group first!!

Subscribe to My Teaching Library newsletters!

Homeschool

Top Homeschooling Questions Answered (Part 2)

Whether you are considering homeschooling for the first time or have been homeschooling for a while, you’ve most likely asked yourself the following questions…

  1. When and how should I begin?
  2. What do I need to teach?
  3. What are the best programs to use?

In part 1 of this series, I answered question #1, “When and how should I begin?”.

In part 2 of the series, I’m will answer question #2, “What do I need to teach?

Before I begin, here is a recap of my qualifications:

As an educator with over 30+ years of experience, I’d like to help you answer these questions! But before I do, let me give you a little more insight into my background…

As I previously stated, I have 30+ years of experience in education. I hold two Bachelor of Science degrees, one in education and the other in psychology and have completed multiple postgraduate courses. I’ve worked in the public school system in the U.S. and Japan before becoming a full-time homeschooling parent. I also served as a founding member and coach for the 10 Greatest Gifts Project and am owner of and content creator for My Teaching Library.

…and my beliefs on education:

My educational journey and teaching experiences have only solidified my belief that every child is a masterpiece. All are unique. Trying to teach all children all the same isn’t the answer. We should nurture every child as a unique learner.  I also believe, both as an educator and a parent, that no one knows a child better than an engaged parent.

So, now that you know who I am and my beliefs, I’ll answer the question…

What do I need to teach?

My answer: Teach the skills and concepts needed to be successful in each major subject, (Language Arts, Math, Science and Social Studies). Beyond that, you should also teach whatever else is required by the law where you live, (see part 1 for a link to check U.S. State laws) such as foreign language, P.E., etc. States will often differ in what is required for classes outside of the four major subjects.

A child’s educational journey is 13 years long (Kindergarten – 12th grade) and throughout that journey, many skills and concepts will be introduced, reinforced and built upon over several grades. To help guide educators, these skills and concepts are typically given by grade-level. However, always remember that every child is different.

Some children may not be ready to learn and master certain skills or grasp certain concepts during the given ‘grade’ where the skill is listed.

Some children may be ahead by a grade (or more) in one area and yet not in another. So, as you homeschool your child, always remember that these given skills and concepts are only meant to help guide but should never be used to compare. Meet your child where they are and go forward!

Haven’t ‘standards’ (skills and concepts) changed through the years?

Yes! Over the 30+ years I’ve been in education, those in charge of public education have changed (and will continue to change) grade-level skills and concepts and the ‘way’ things may be taught.

I began teaching long before ‘common core’ was developed and implemented. Not long after its adoption, many educators began screaming to do away with it. Today, after the lock downs of the pandemic and school children having lost a couple years of real, person to person instruction, many in education are now wanting to lower standards!

As a homeschooling parent, I urge you not to get caught up in the ever changing, landscape of skills and concepts (as defined by legislatures) but instead, find and use a solid, tried and true list of the most important skills and concepts that should be taught

Where to you find the skills and concepts that should be taught?

My Teaching Library offers everyone FREE ACCESS to an online, solid, tried and true list of grade-level skills and concepts for K through 12th grades for each core subject.

These lists can be found on the home page of My Teaching Library!

Now that you know how to access the ever important skills and concepts that should be taught for the four core subjects, I will address the last question in this series, “What are the best programs to use?” in part 3.

Read Part 3 now!

(Want to receive new blog posts from My Teaching Library in your inbox when they are published? Simply enter your email in the box where it says “Follow My Teaching Library” just to the right of the title of this article.)

TAKE AWAYS TO REMEMBER:

  • Teach your child specific skills and concepts for a successful learning journey.
  • Don’t get caught up in the ever changing landscape of public education’s recommended lists
  • My Teaching Library offers an online, solid list of important skills and concepts to guide you through (K-12th grade)
Homeschool

Top Homeschooling Questions Answered (Part 1)

Considering homeschooling? Already decided to homeschool and have questions? Get answers to the top homeschooling questions!

  1. When and how should I begin?
  2. What do I need to teach?
  3. What are the best programs to use?

I’d like to help answer these questions for you buut before I do, let me give you a little more insight into my background…

My name is Lynda Ackert and I have 30+ years of experience in education. I hold two Bachelor of Science degrees, one in education and the other in psychology and have completed multiple postgraduate courses. I’ve worked in the public school system in the U.S. and Japan before becoming a full-time homeschooling parent. I also served as a founding member and coach for the 10 Greatest Gifts Project and am owner of and content creator for My Teaching Library.

My educational journey and teaching experiences have only solidified my belief that every child is a masterpiece. All are unique. Trying to teach all children all the same isn’t the answer. We should strive to nurture every child as a unique learner.  I also believe, both as an educator and a parent, that no one knows a child better than an engaged parent.

Now that you know a little about me, let me begin answering the first ‘top homeschooling question…

When and how should I begin?

First, let me say that you as a parent, began the day you began talking to your child. Every interaction is a learning experience for a child. Every time you play with them, read to them and simply share life with them, you are teaching. As a parent, you are your child’s primary teacher and you always will be.

The question you are really asking yourself is, “When should I begin formal education?” Some will tell you age 5-6. However, that isn’t my answer.

WHEN TO BEGIN:

If you are an engaged parent, which I believe YOU ARE since you are even asking the question, you are the best person to make the determination when to begin formal education. That may be as young as 3 or 4 if your child is demonstrating a desire. Your state law will set an age when you must begin, but that doesn’t mean you cannot begin earlier if your child is ready. If your child isn’t ready, that’s ok. Simply begin when the law says you must.

Again, remember that every child, your child, is unique. Unique from their peers and unique from siblings (if they have them). Do your best never to compare. It isn’t easy but don’t go down the comparison road. Love and honor your child for where he or she is at any given moment.

HOW TO BEGIN:

Taking into account that you’ve already begun from the first day you interacted with your child, let me address HOW to begin formally and legally.

The first thing that should always do is check the homeschooling laws where you live. If you live in the U.S., the best place to get this information HSLDA.org/legal. Homeschooling laws vary widely so always stay informed of what your requirements are wherever you live.

Once you understand the law, then you can begin to move forward with the next question, “What do I need to teach?”

Go to part 2 now to read!

TAKE AWAYS TO REMEMBER:

  • Every child is a unique learner, never play the comparison game.
  • An engaged parent is a child’s best teacher and knows their child better than anyone else.
  • Before and during homeschooling, always know and follow the laws where you live.
Spring

Get your Spring Teaching Resoruces!

Winter is over and Spring is here!! If you love to add seasonal related activities to your lesson plans, My Teaching Library has some great ones to share with you!!


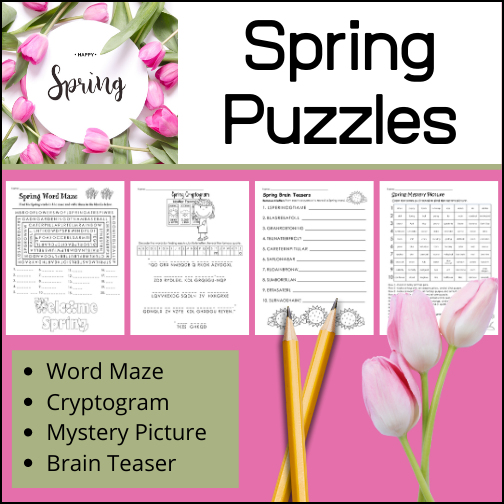
SPRING PUZZLES

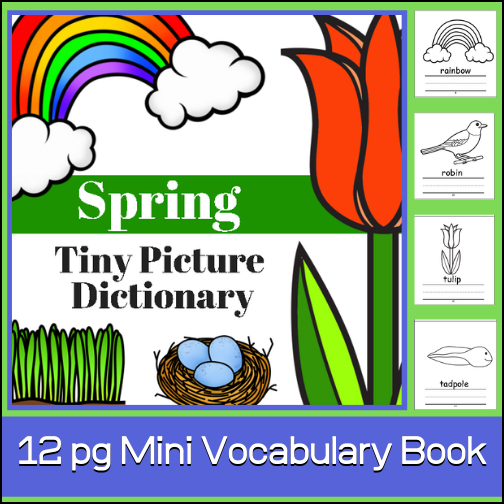
PICTURE DICTIONARY

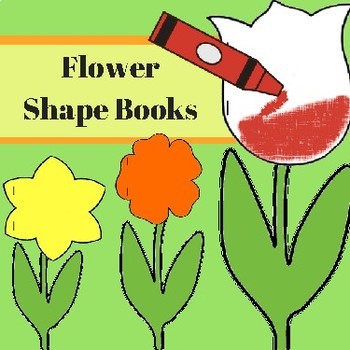
SHAPE BOOKS

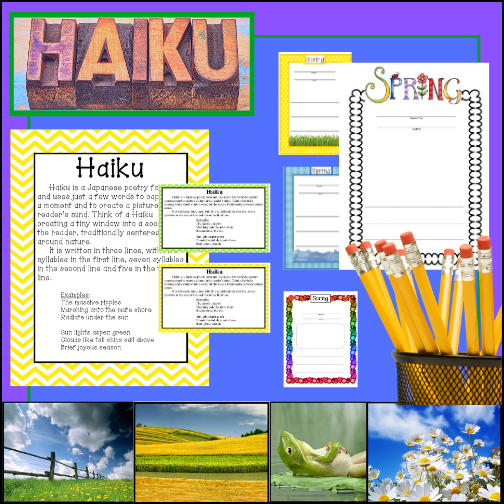
HAIKU POETRY UNIT

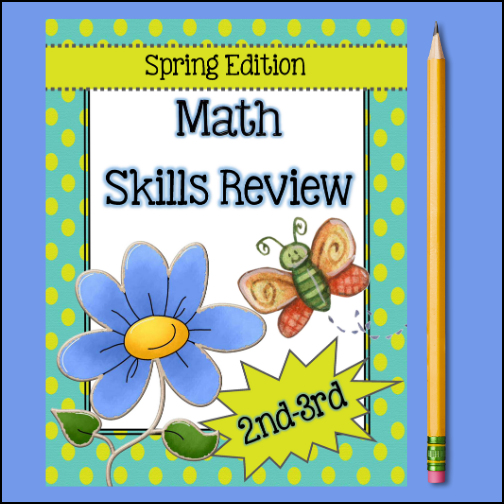
MATH SKILLS REVIEW

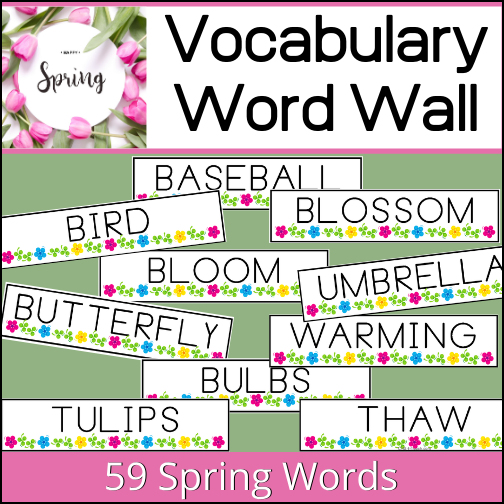
VOCABULARY WORD WALL

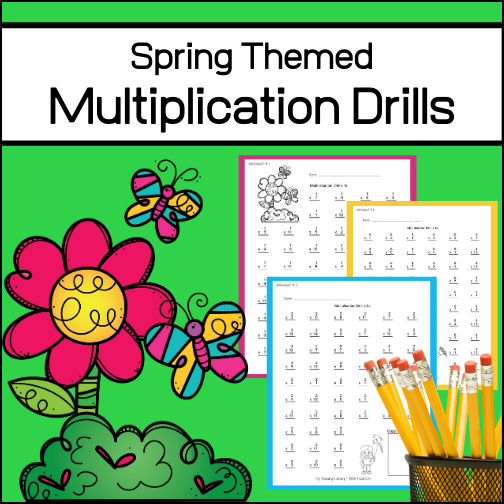
MULTIPLICATION  WORK

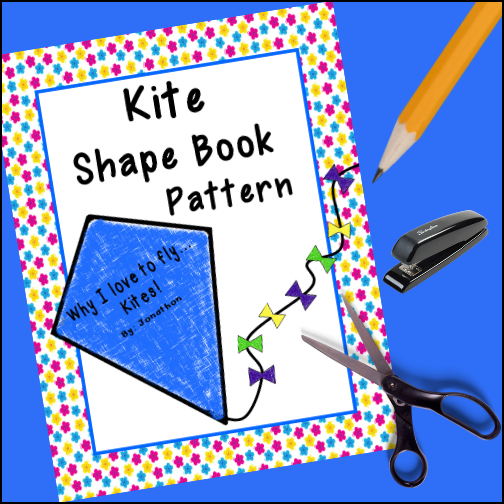
KITE SHAPE BOOK

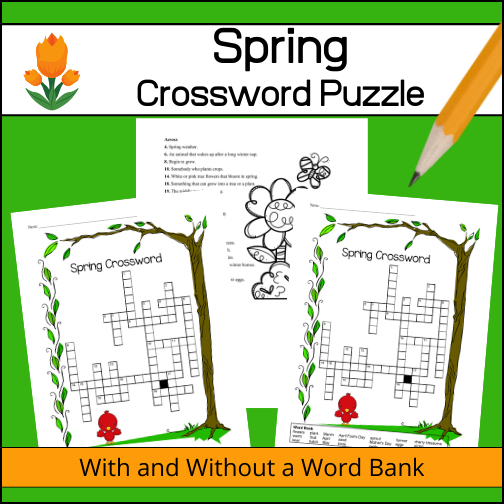
CROSSWORD PUZZLE

WRITING PAPER

PICTURE VOCABULARY

PATTERN BLOCK TEMPLATES

Love Unit Studies? Check out these perfect for Spring


LET’S LEARN ABOUT PLANTS

BOTANY | INTERACTIVE

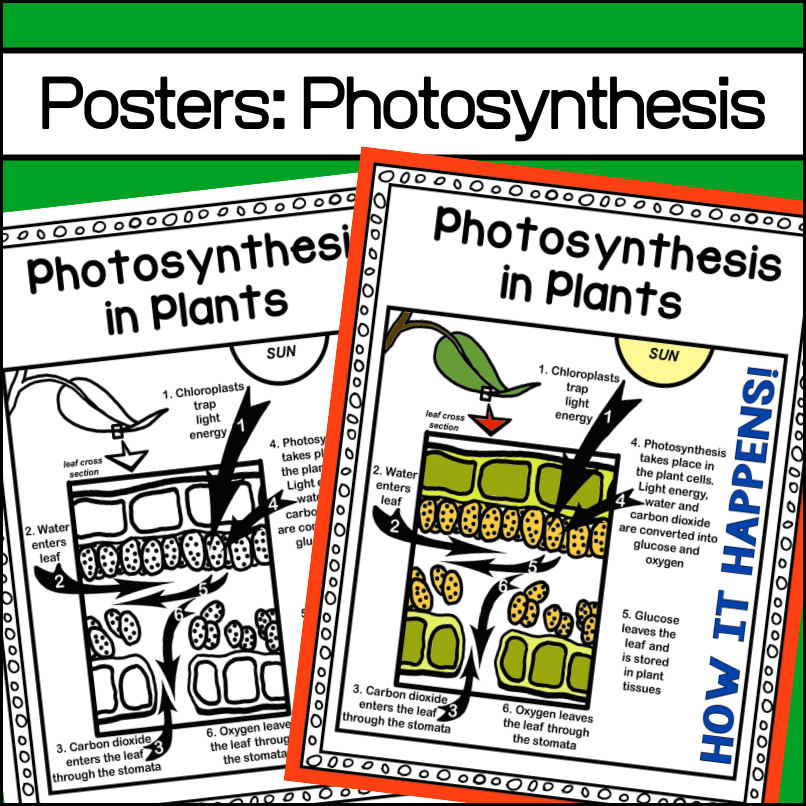
PHOTOSYNTHESIS POSTERS

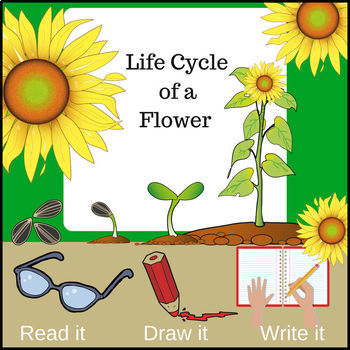
LIFE CYCLE OF A FLOWER

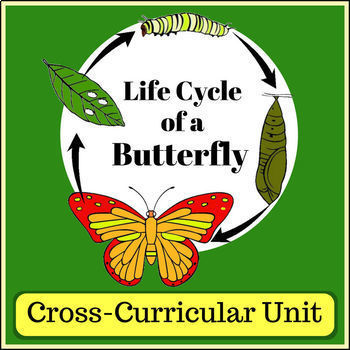
LIFE CYCLE OF A BUTTERFLY

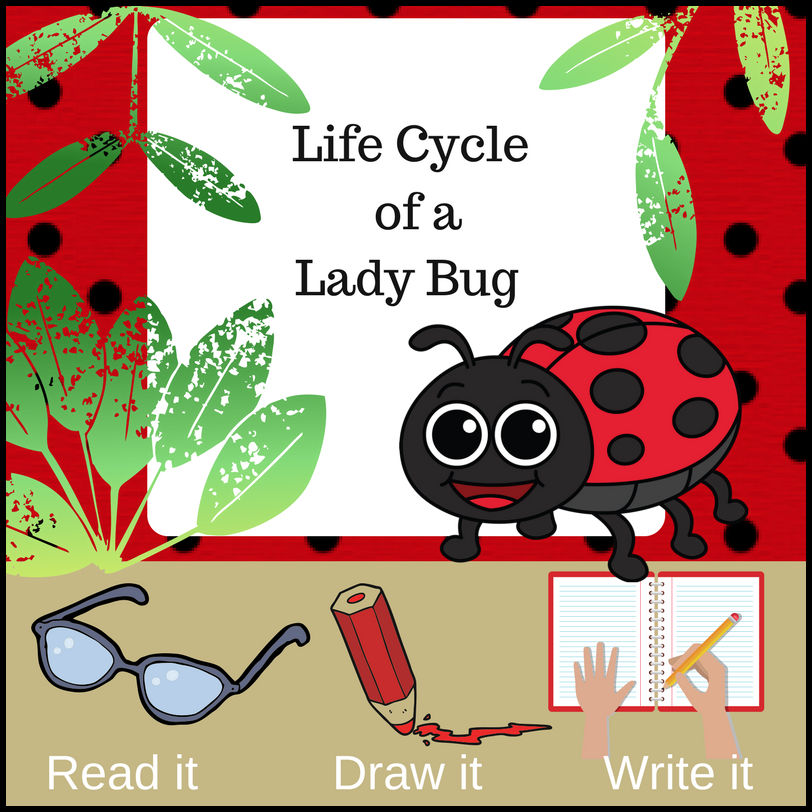
LIFE CYCLE OF A LADYBUG

The above springy resources can be great adds to your lesson plans in the next few months!

We also have several additional resources that might interest you as well. 
Check out the ones we have for EasterArbor DayEarth DayMemorial Day, and Cinco de Mayo


About My Teaching Library

One of the most time-consuming tasks of a homeschooling parent
can be finding quality resources that you can afford. That is why My Teaching Library was created!

Imagine having an ALL-ACCESS pass to thousands of educational resources: curriculum, worksheets, videos, homeschool helps and more. Now imagine getting this access for an amount equaling only $5 a month or even less.

My Teaching Library offers PreK-12th grade resources in all major subjects and you don’t even have to pay for those hardcover textbooks or workbooks to be shipped to you. Everything is downloadable!

One subscriber said this about MTL, “What we love about this program: It is so incredibly flexible! I would say this is a perfect site for educational resources simply because there is so much available on it!”

Another said, “My Teaching Library has been a Godsend. Not just for the younger kids, but high school kids too. There is even some things on there just for me!

Become an ALL-ACCESS subscriber today!

Discounts, Homeschool, Parenting, Uncategorized

Educational Discounts for Homeschooling Families

Did you know that homeschooling parents are entitled to receive discounts offered to public school teachers or private tutors!

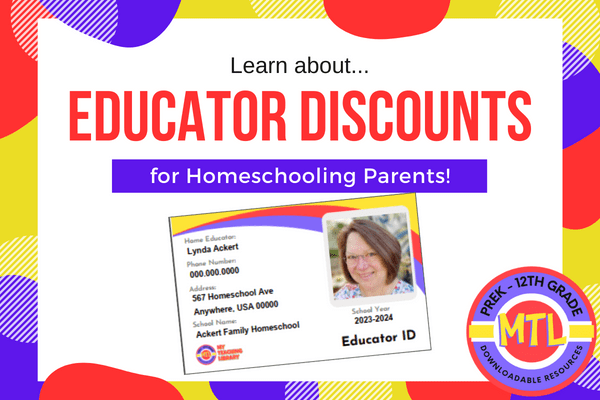
To get these discount, you will need some physical proof you are a teacher before going to a business and asking for an educator discount. You don’t have to pay for and educator ID because if you have a computer and printer, you can create your own with a free download from My Teaching Library!

What Types of Businesses May Offer Teacher Discounts…

Homeschoolers have asked and received discounts at all sorts of places of business:

  • Arts & Crafts
  • Bookstores
  • Catalog Suppliers of all sorts of things
  • Computer Stores (computer hardware and software for teacher & students)
  • Craft Supply Stores
  • Furniture Stores (student desks & chairs)
  • General Merchandise
  • Hardware Stores (For all those bookshelves and projects)
  • Museums
  • Music Stores
  • Office Supply
  • Science Stores
  • Sporting goods

If you do not already know that an educator discount is offered, who do you ask? When you go to a place of business, ask for the general manager or for the sales person in charge of corporate accounts at larger businesses. Ask that person if they give an “educators’ discount” BEFORE you tell them you are a homeschooler. A “yes” answer will give them less room to wiggle out once you do tell them you homeschool. If they say “yes,” tell them you are a homeschool educator (No need to go into great detail.) and you’d like to apply to get an educators’ discount.

What You Will Need

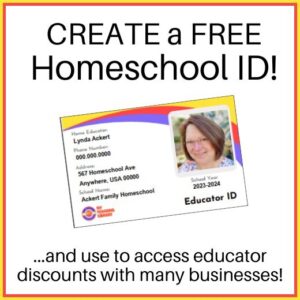
You will definitely need an educator ID card that proves you are a teacher. You can create one easily on your computer with My Teaching Library’s FREE Homeschool ID resource!

  • Download your template and open it with a pdf program. Then, click on each section to type in your information. Next, click on the image section and upload your photo.
  • To print a normal size (credit card size) ID card, make sure your printer is set to print the template as is. This means you do not want to click on any scaling options such as “fit to printer margins”, “custom scale” or “reduce or enlarge” settings. If you print, as is, your ID will print at the size of a credit card.
  • Once you print out your ID, cut it out and laminate it. You do not have to have a lamination machine as you can purchase laminating – self-adhesive or self- sealing sheets or pockets at most any office supply store or even Walmart!

Sometimes, some businesses may also want you to have a statement on letterhead from your school saying you are authorized by that school to make purchases. If this is the case, simply create a letterhead on your own computer, state that you, as the educator, are authorized by that school (your homeschool – create your own homeschool ‘name’) to make purchases and have it signed by the ‘principal’ (your spouse or close family member)!

Most businesses will only require an educator ID, but just know that you ‘may’ have a business that wants a letter of authorization as well so you may want to have one handy.

Want a list of businesses that we know gives homeschooling parents an educator discount as of this writing?


BE the FIRST to know about NEW Products by joining the…

My Teaching Library FB group
Posts are made in this group first!!

Subscribe to My Teaching Library newsletters!

Interactive notebook, notebooking, Product Suggestions, Unit Study

Notebooking – What is it?


Notebooking is the coined term for what one can also be referred to as educational journaling or scrapbooking.

Essentially, the idea is to create a compilation of what has been learned and experienced in any number of subjects or activities and organize it in a notebook (or binder).

Notebooking is designed to capture the knowledge as well as personal reflections of what has been learned. There are two primary essentials needed in creating a notebook:

  • A visual component
  • A written component.

These two components work together to convey what a student has learned from his/her lessons. Instead of filling in worksheets or answering a list of discussion questions to test what a student has learned, you are giving students the opportunity to “show” and “tell” in a variety of ways what has been learned!

Benefits of Notebooking:

  • Student Centered
    – Students are more ‘in charge’ of what they add to their notebooking projects.
    – Often, students are allowed to choose topics that interest them
    – Learning can easily be tailored to each students learning style
  • Fosters investigation and organization
    One of the most important skills that any student can and should learn is to be able to determine ‘where and how ‘ to find relevant information on any topic of study. This is actually more important than filling one’s head with stacks of information because no one can ever know everything. We need to be able to know where to go to find information and how to get that information.
  • Helps students process information in more depth
    It is scientifically proven that children are better able to recall information when it has been written down. So, as students learn to investigate and organize information, they can better process the information being learned through notebooking. Why? Handwriting allows a child’s brain to receive feedback from an their motor actions which ties to motor memory. This results in different connections and results than when an individual types notes. (Read more about why to teach handwriting here.)

Basic List of Supplies to Get Started:

  • Paper and/or Templates
  • Pencil and/or Pen and Colored pencils and/or Crayons
  • Hole punch
  • Binder
  • Sheet protectors
  • Highly recommended (Pre-made Notebooking Units from My Teaching Library)

Additional Supplies Great to Have on Hand:

  • Colored Paper
  • Heavy-weight papers or card stock
  • Construction paper
  • Scissors
  • Chalks
  • Markers
  • Paints
  • Glue and/or Tape
  • Border Stencils
  • Lettering Stencils

Examples of Notebooking Pages:

These images come from My Teaching Library’s Paraguay Country Study | Notebooking Unit

These images come from My Teaching Library’s Mink | Notebooking Pages

These images come from My Teaching Library’s US Presidents Notebooking and Mini-Books | Volume 4

These images come from My Teaching Library’s Harriet Tubman – U.S. History Notebooking Project

This image come from My Teaching Library’s U.S. Elections: A Student-Centered Project-Based Unit

These images come from My Teaching Library’s 50 U.S. States | Interactive Social Studies

There are so many notebooking resources on My Teaching Library!

Having a pre-made notebooking unit makes it easy to implement within your lesson planning…and once your students are fully accustom at creating notebooking projects, if you don’t find something pre-made, they can easily begin to create their own!!

Finding all of the pre-made notebooking units available on My Teaching Library is easy! On the site, simply click on “Educational Resources” and then under Miscellaneous, click on “Interactive Learning”!

Also, there is one HUGE thing you should know about My Teaching Library…and that is that you can purchase every resource individually or you can become an All-Access member! All-Access members have the ability to download any and all resources that are needed for FREE as long as the membership is active!!

BE the FIRST to know about NEW Products by joining the…

My Teaching Library FB group
Posts are made in this group first!!

Subscribe to My Teaching Library newsletters!